Free Fire Zone Gloo Wall Tactics
Instant cover that decides Free Fire Zone fights—timing, placement, and resets.
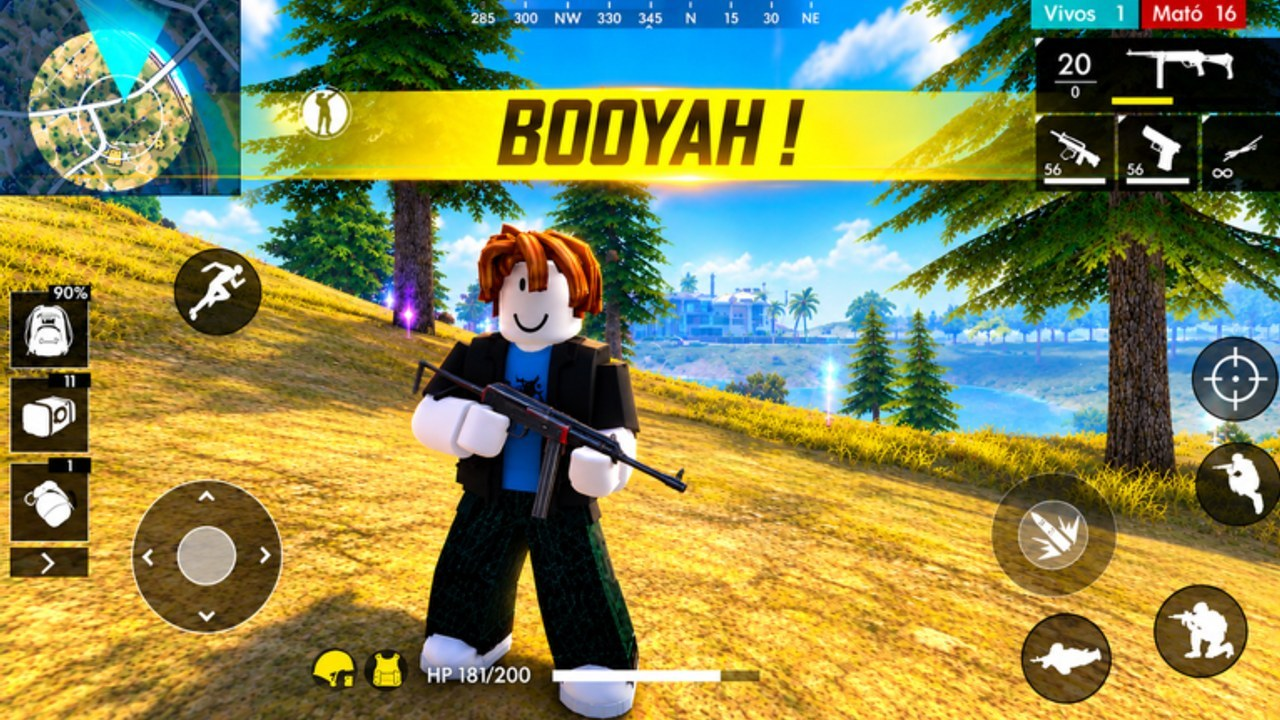
Gloo Walls are the signature defensive toy in Free Fire Zone (Free Fire Zone Max). Barrera_CC’s Roblox shooter borrows the Free Fire idea of throwable instant cover and drops it into continuous ~18-player lobbies where you are never more than a few seconds from the next swing. Master walls and average aim climbs ranks; ignore walls and even S-tier rifles from the weapons tier list feel “broken.”
This guide focuses on Roblox Free Fire Zone behavior—not Garena mobile skill kits or event skin names. Pair it with controls so your wall key is reachable under stress, and with the weapons guide so you know whether to re-peek with a rifle or swap SMG after the plant.
What a Gloo Wall is for
A wall is a time-buying tool:
- Interrupt enemy aim while you reload
- Break line of sight after taking first damage
- Create a temporary headglitch edge to re-peek
- Cross a dangerous open tile during a rotate
- Body-block a doorway while you hear footsteps
A wall is not:
- A permanent fort you AFK behind
- A substitute for crosshair placement
- Infinite—spam empties you before the real fight
Core loop: peek, shoot, wall, shift, re-peek
The highest-value habit in Free Fire Zone mirrors classic Free Fire discipline:
- Peek for information—expose as little as possible.
- Shoot a short, intentional burst.
- Wall if the trade turns bad or you need a reload.
- Shift to a new edge so the enemy’s crosshair is wrong.
- Re-peek from the unexpected side.
Players who plant a wall on their own feet and stand still gift head hitboxes. Always move to an edge after the deploy.
Panic walls vs planned walls
Panic wall — You are already chunked. Throw toward the damage source, crouch if it helps lower your profile, and reset. Do not turn 180° hunting a perfect angle while still in the open.
Planned wall — You decide to take space. Pre-aim the plant spot, swing with rifle ready, and keep a second charge for the counter-swing. Planned walls win ranked climbs described in rank progression.
Placement patterns that win more fights
| Pattern | When to use | Tip |
|---|---|---|
| Front plant + edge hug | Standard duel | Move immediately after deploy |
| Diagonal second layer | Grenades / chip damage | One wall is often not enough vs splash-style pressure |
| Door / stair seal | Audio info of a pusher | Pair with shotgun/SMG secondary |
| Rotate ribbon | Crossing open ground | Two short plants beat one long sprint |
| Reload booth | Empty mag mid-street | Wall, reload, then leave—do not ego re-peek dry |
Economy: stop throwing your future
Continuous lobbies punish empty wall pockets. Before a rotate, count charges the way you count ammo. A practical mental model:
- Exit loot pocket: 0–1 walls unless already contested
- Open cross: 2 walls (first toward fire, second as backup)
- Arrival / final duel: keep 1–2 in reserve
If you are broke on walls, take longer cover routes instead of hoping the enemy misses. Getting started players should drill this counting early.
Offense with walls
Walls are not only panic buttons. Aggressive Free Fire Zone players:
- Wall off a sniper lane to force the enemy to relocate
- Plant mid-swing to cut assist angles from a second opponent
- Fake a wall on one side, swing the other when the enemy burns utility
SMG users (often A-tier in our tier list) love wall breaks that collapse range. Rifle users love walls that freeze a fight at mid-range where their TTK shines.
Common mistakes
- Wallpapering the void — Three decorative walls, zero plan.
- Re-peeking the same pixel — The enemy pre-aims your last head position.
- Walling into your own sightline — Blocking the angle you needed to shoot.
- Ignoring rebuild notes — Sep–Nov 2026 updates (changelog) can alter feel; re-test after patches on updates.
- Script “auto wall” fantasies — Injectors on the scripts hub risk the account; they also skip the gamesense walls teach.
Drills (ten minutes)
- Edge swap drill: Plant, touch left edge, touch right edge, shoot once each side.
- Reload booth drill: Empty a mag into a safe prop, wall, reload, exit opposite side.
- Rotate ribbon: Cross an open tile using two plants without sprinting blind.
- Secondary swap: After a wall, practice rifle→SMG when footsteps close the gap (weapons guide).
Team and duo notes
Even when Free Fire Zone feels deathmatch-loose, stacking walls to revive, stabilize, or split angles still matters. Wall the downed teammate’s line of fire first, not the flashiest skyline. Communicate which edge you will re-peek so you do not swing into each other’s shots.
Cosmetics vs performance
Lucky Royale and codes may hand out stylish wall skins someday. They do not change deploy timing. Spend attention on binds (controls) before spending attention on flair. Official play remains linked from official links.
Gloo Walls are the difference between “I died to a laser” and “I chose the next angle.” Learn the loop, count your charges, and let every rebuild be a reason to re-drill—not a reason to quit the habit that makes Free Fire Zone sing.
Frequently Asked Questions
Quick answers to the most common questions.
When should I place a Gloo Wall in Free Fire Zone?
Plant when a trade turns bad, when you must reload, or when you need a temporary edge to re-peek. Do not wait until you are already downed to start looking for the button.
Why do I still die behind walls?
Standing still on the plant spot lets enemies pre-aim your head. Move to an edge, change sides, and avoid re-peeking the same pixel.
How many walls should I save for a rotate?
Budget roughly two for the open cross and keep one or two for arrival fights. If you are empty, take covered paths instead.
Do wall skins improve defense?
No. Skins from Lucky Royale or codes are cosmetic. Timing, placement, and edge swaps decide survival.
What should I read after this guide?
Controls for binds, the weapons guide for post-wall gun swaps, and rank progression when you take wall habits into rated lobbies.