Map & Positions in Free Fire Zone
Principles for hot drops, quiet edges, high ground, and Gloo Wall plants—rebuild-proof, not fake POI lists.
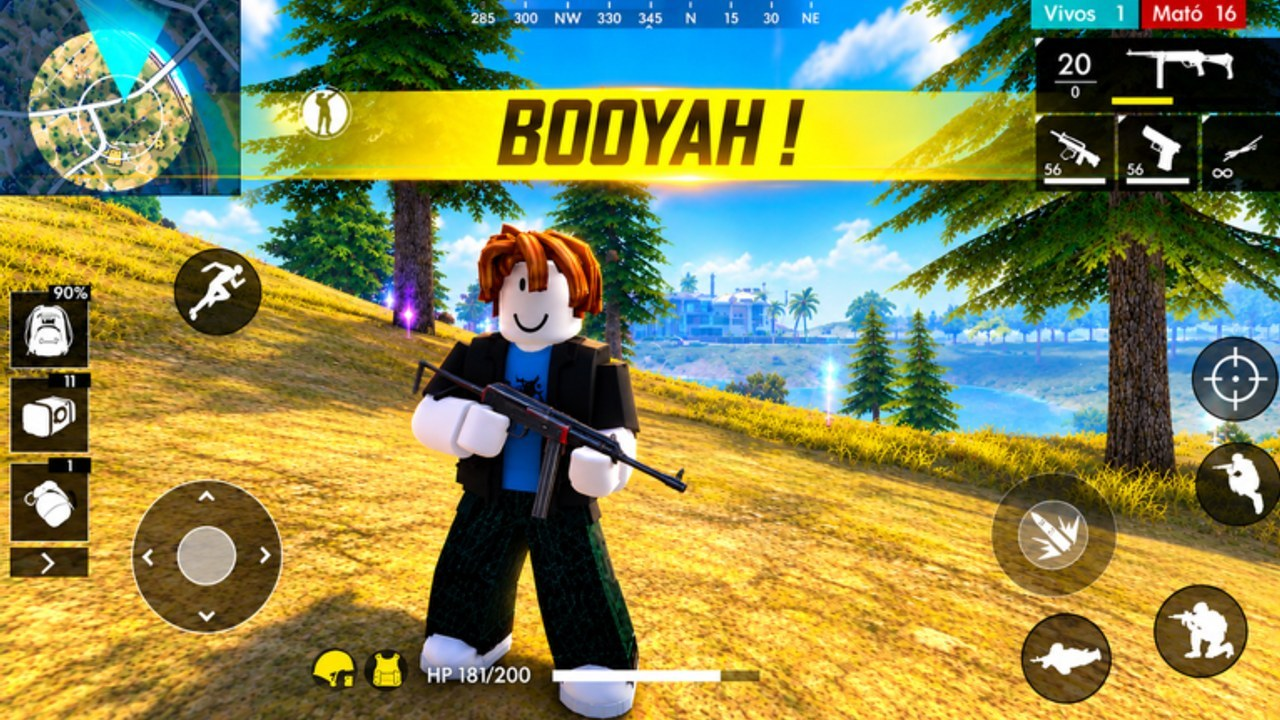
Map sense in Free Fire Zone (Free Fire Zone Max) is not a Bermuda tourism brochure. Barrera_CC’s Roblox continuous ~18-player shooter rebuilds routes, props, and sightlines often enough that memorizing invented named compounds is a trap. This page teaches portable position principles—hot drops versus quiet edges, high ground, stairwells, open lanes versus cover clusters, rotate timing, audio cues, and where to plant Gloo Walls—so you stay dangerous after every layout pass tracked on updates.
If you are still learning the HUD, finish getting started, beginner mistakes, and Lucky Royale and controls first. Pair map reads with the weapons guide and weapons tier list so your gun matches the distance the space actually creates.
Rebuild honesty: principles over POI bingo
Free Fire Zone launched 2026-09-27 and has already lived through combat and map rebuild windows. Named “zones” you saw in a September clip may be gone in November. Treat every lobby as a fresh scan:
- Where do players first collide after spawn?
- Which roofs or crates give headglitch edges?
- Which corridors force stair or door fights?
- Which tiles are naked open lanes with no mid-cover?
Write those answers in your head each session. Do not import Garena Free Fire map names, Bermuda POIs, or mobile event labels into this Roblox place—they do not apply here. Official play links live on the wiki hub.
Hot drops vs quiet edges
Hot drops are spawn-adjacent clusters, central courtyards, and any building that funnels early loot plus early fights. They teach aim fast and punish empty wall pockets faster. Take a hot drop when you want ranked reps (rank progression), when your rifle is warmed up, and when you still have Gloo charges for the first two trades.
Quiet edges are perimeter props, side alleys, and less contested loot pockets. Use them to stabilize loadouts, practice crosshair height, or recover after a tilt streak. Quiet is not AFK—scan toward the hot side so you rotate into information, not into a free kill for someone who already finished looting.
Rule of thumb for continuous lobbies: alternate. One hot block for aggression, one quiet block for kit quality. Endless hot ego-challenges burn focus before you climb.
High ground that actually matters
High ground wins when it gives information + cover + a safe exit, not when it only looks tall. Prefer:
- Roofs or crates with a solid parapet you can peek-and-duck
- Stairs you control so pushers must announce themselves with audio
- Angles that see an open lane while your body stays half-hidden
Avoid “tourist high ground”: exposed silhouettes against the sky with no wall plan. In Free Fire Zone, a silhouette on a naked roof is a free mid-range rifle ad. If you take height, pre-decide the Gloo Wall plant for the counter-swing and the stair you will fall back through.
Stairwells and vertical chokes
Stairs compress fights into shotgun and SMG range. Before you climb or descend:
- Pre-aim head height for the next landing
- Listen for footsteps—continuous lobbies make audio more valuable than any skin
- Hold a wall charge to seal the stair mouth if a second fighter joins
Never reload mid-stair facing upward. Plant a wall on the landing, reload, then re-peek a new edge. Pair this habit with a close-range secondary from the weapons guide.
Open lanes vs cover clusters
Open lanes are long sightlines between compounds—streets, courtyards, gaps between crates. Cross them with a plan: rifle ready, two-wall “rotate ribbon” if contested, or a longer covered path if you are empty on utility. Sprinting ads-up with only an SMG across an open lane is a classic beginner mistake.
Cover clusters are prop piles, broken walls, and multi-angle crates. They favor short peeks, wall-edge swaps, and SMG finishes. Clear a cluster by taking one edge at a time; do not wide-swing the whole pile. If two enemies hold a cluster, wall off the assist angle first, then duel the closer fighter.
| Space type | Preferred gun | Wall job |
|---|---|---|
| Open lane | Controllable rifle | Rotate ribbon / reload booth |
| Cover cluster | Rifle into SMG | Edge swap + assist cut |
| Stair / door | SMG or shotgun | Seal mouth, deny push |
| High ground hold | Rifle | Panic plant on counter-swing |
Rotate timing in continuous lobbies
Because Free Fire Zone does not always boot you to a long queue, rotates are constant micro-decisions—not one final circle call. Good timing looks like:
- Leave a quiet edge after you hear a fight resolve nearby, not during the spray when third parties are still hungry
- Arrive at hot ground with mag full and at least one wall reserved
- Do not rotate through the same open lane twice in a row if you just died there—change height or approach side
Bad timing is chasing every distant gunshot with empty walls and a dry mag. Continuous action rewards players who pick the next fight, not every fight.
Audio cues worth playing for
Headphones beat a Lucky Royale flex. Prioritize:
- Footsteps on stairs and metal props
- Reload timing after an enemy spray (your re-peek window)
- Wall deploy sounds that telegraph a panic plant
- Second set of steps that means you are about to get sandwiched
When audio says a pusher is close, swap to your close gun before you see them. Controls that make weapon swap and wall keys reachable under stress are map tools as much as aim tools.
Gloo Wall planting positions (map-aware)
Walls turn bad geometry into playable geometry. High-value plants:
- Lane mouth — Cut a sniper or rifle hold so you can finish a cross
- Stair seal — Body-block the climb while you heal or reload
- Cluster edge — Create a temporary headglitch, then leave the plant pixel
- Rotate ribbon — Two short plants across open ground beat one blind sprint
- Arrival booth — Plant on entry to a hot drop so the first challenger does not free-beam you mid-loot
Low-value plants: decorative wallpaper in already-safe corners, walls that block your own sightline, and triple spam that empties you before the real duel. Deep loops live in the Gloo Walls guide—use this page to choose where on the map those loops happen.
Session checklist (map edition)
- Spawn and classify the nearest space: hot, quiet, lane, or cluster.
- Loot a rifle-first kit that matches that space (tier list).
- Note one high-ground option and one stair risk within ten seconds of move-out.
- Budget walls before the first rotate.
- After death, name the failure: info, geometry, timing, or aim—not “map RNG.”
- Re-scan after any rebuild note on updates.
Related reading
- Guides hub
- Getting started
- Gloo Walls
- Weapons guide · Weapons tier list
- Controls
- Ranks · Updates · Wiki / official links
Map mastery in Free Fire Zone is a habit of reading space under rebuild pressure. Skip fake POI lists, respect hot versus quiet choices, own height and stairs with a wall plan, and rotate only when your mag and utility say you can win the next tile. That is position play that survives the next Barrera_CC patch.
Frequently Asked Questions
Quick answers to the most common questions.
Does Free Fire Zone use Garena Bermuda map names?
No. Free Fire Zone Max is a Roblox experience by Barrera_CC. Do not rely on Bermuda POI names; learn hot drops, edges, height, and chokes on the live layout.
Should I always hot drop in continuous lobbies?
No. Alternate hot blocks for fight reps with quiet edges to stabilize loadouts and walls. Endless hot drops without a kit plan burns focus before ranked climbs.
What is the best Gloo Wall plant on a rotate?
Use a short rotate ribbon: one plant toward incoming fire, a second as backup, and keep a charge for the arrival duel. If you are empty, take covered paths instead.
How do rebuilds change this guide?
Rebuilds can move props and sightlines. Re-scan hot versus quiet spaces and stair routes after patches on the updates hub; keep the principles, discard outdated landmarks.
What should I read with this map guide?
Gloo Walls for plant loops, the weapons guide and tier list for distance matching, controls for swap binds, and ranks when you take these habits into rated lobbies.